Rosetta 2
Official Intel Mac build, translated by Rosetta 2. Installs like any Mac app, with a small performance cost versus a native build.
Difficulty: EasyCost: $6.99Great

Runs through Rosetta 2 from the Intel Mac build.
Overall rating: Runs great on Mac · 100% of 2 players say it runs well
Runs through Rosetta 2 from the Intel Mac build.
ShellShock Live has an official Intel Mac build that runs on Apple Silicon through Rosetta 2. It installs like any Mac app, with a modest performance cost compared with a native port.
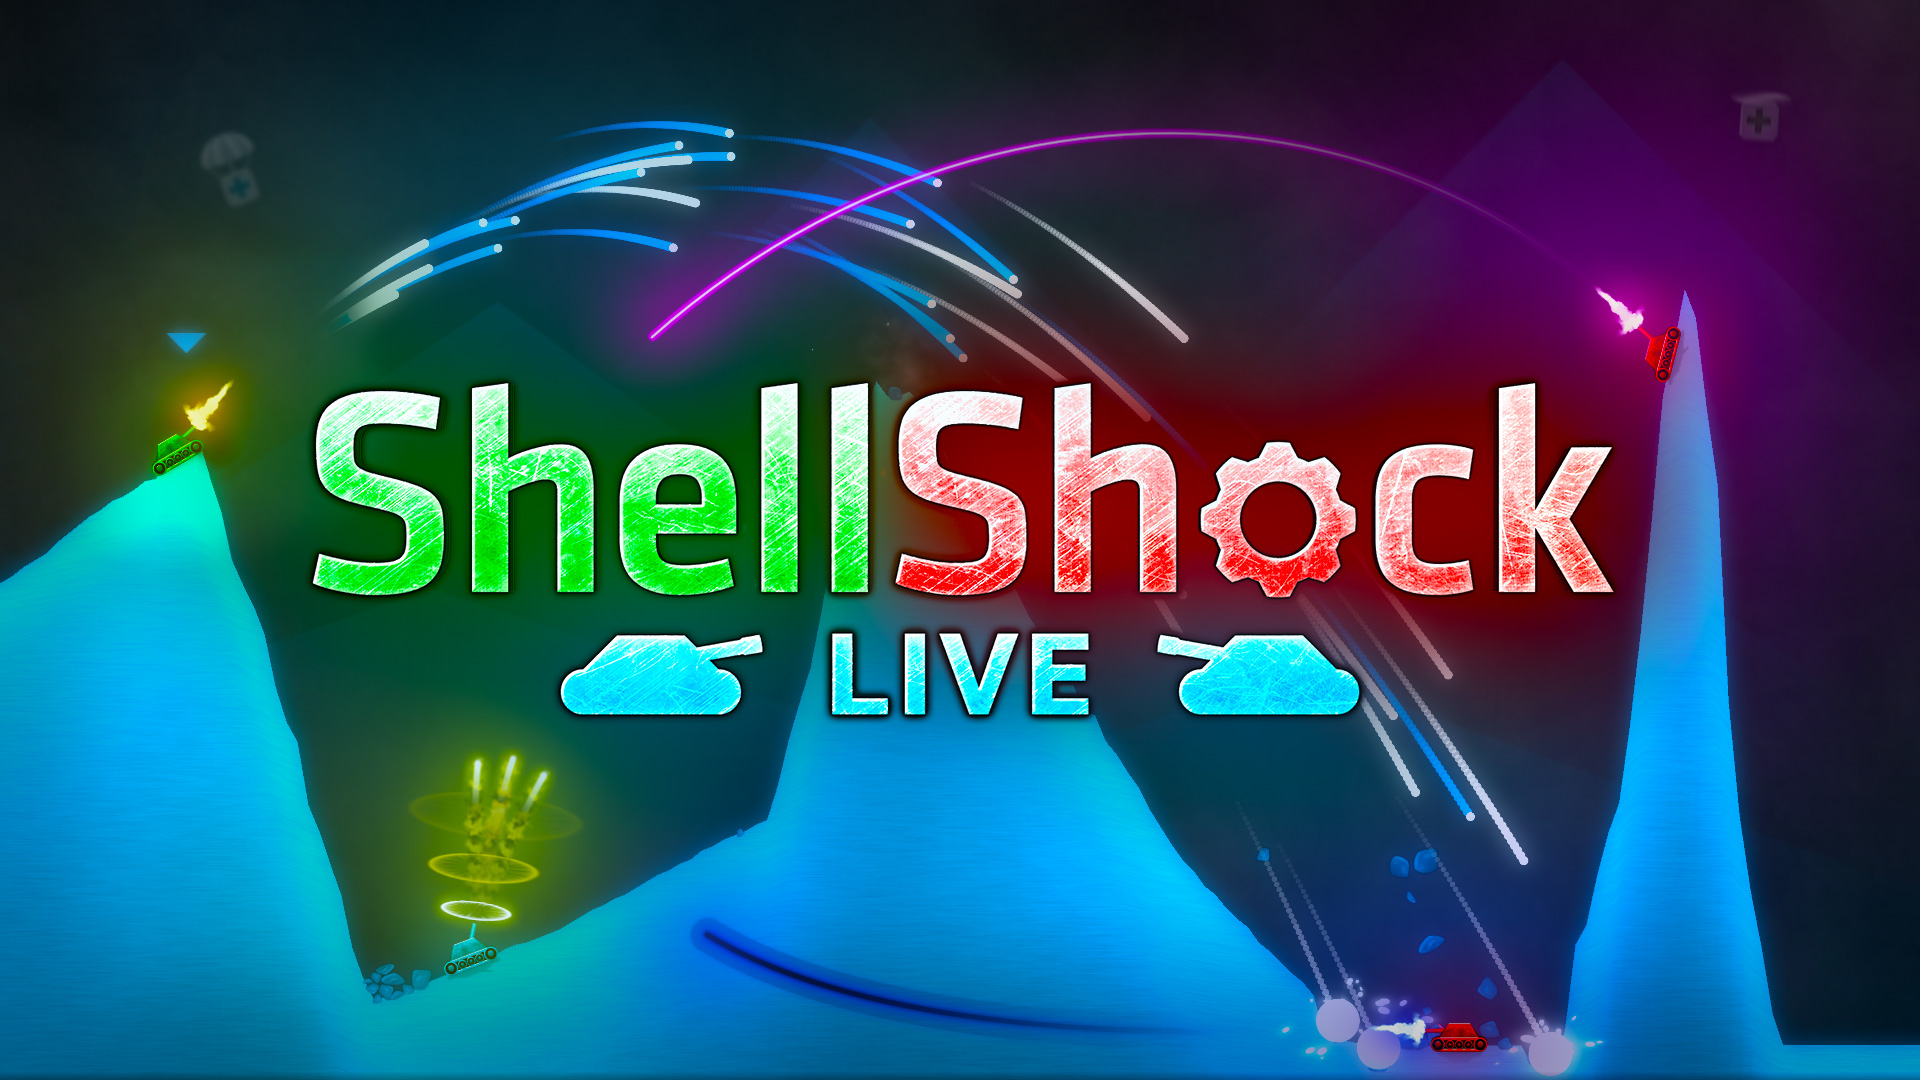
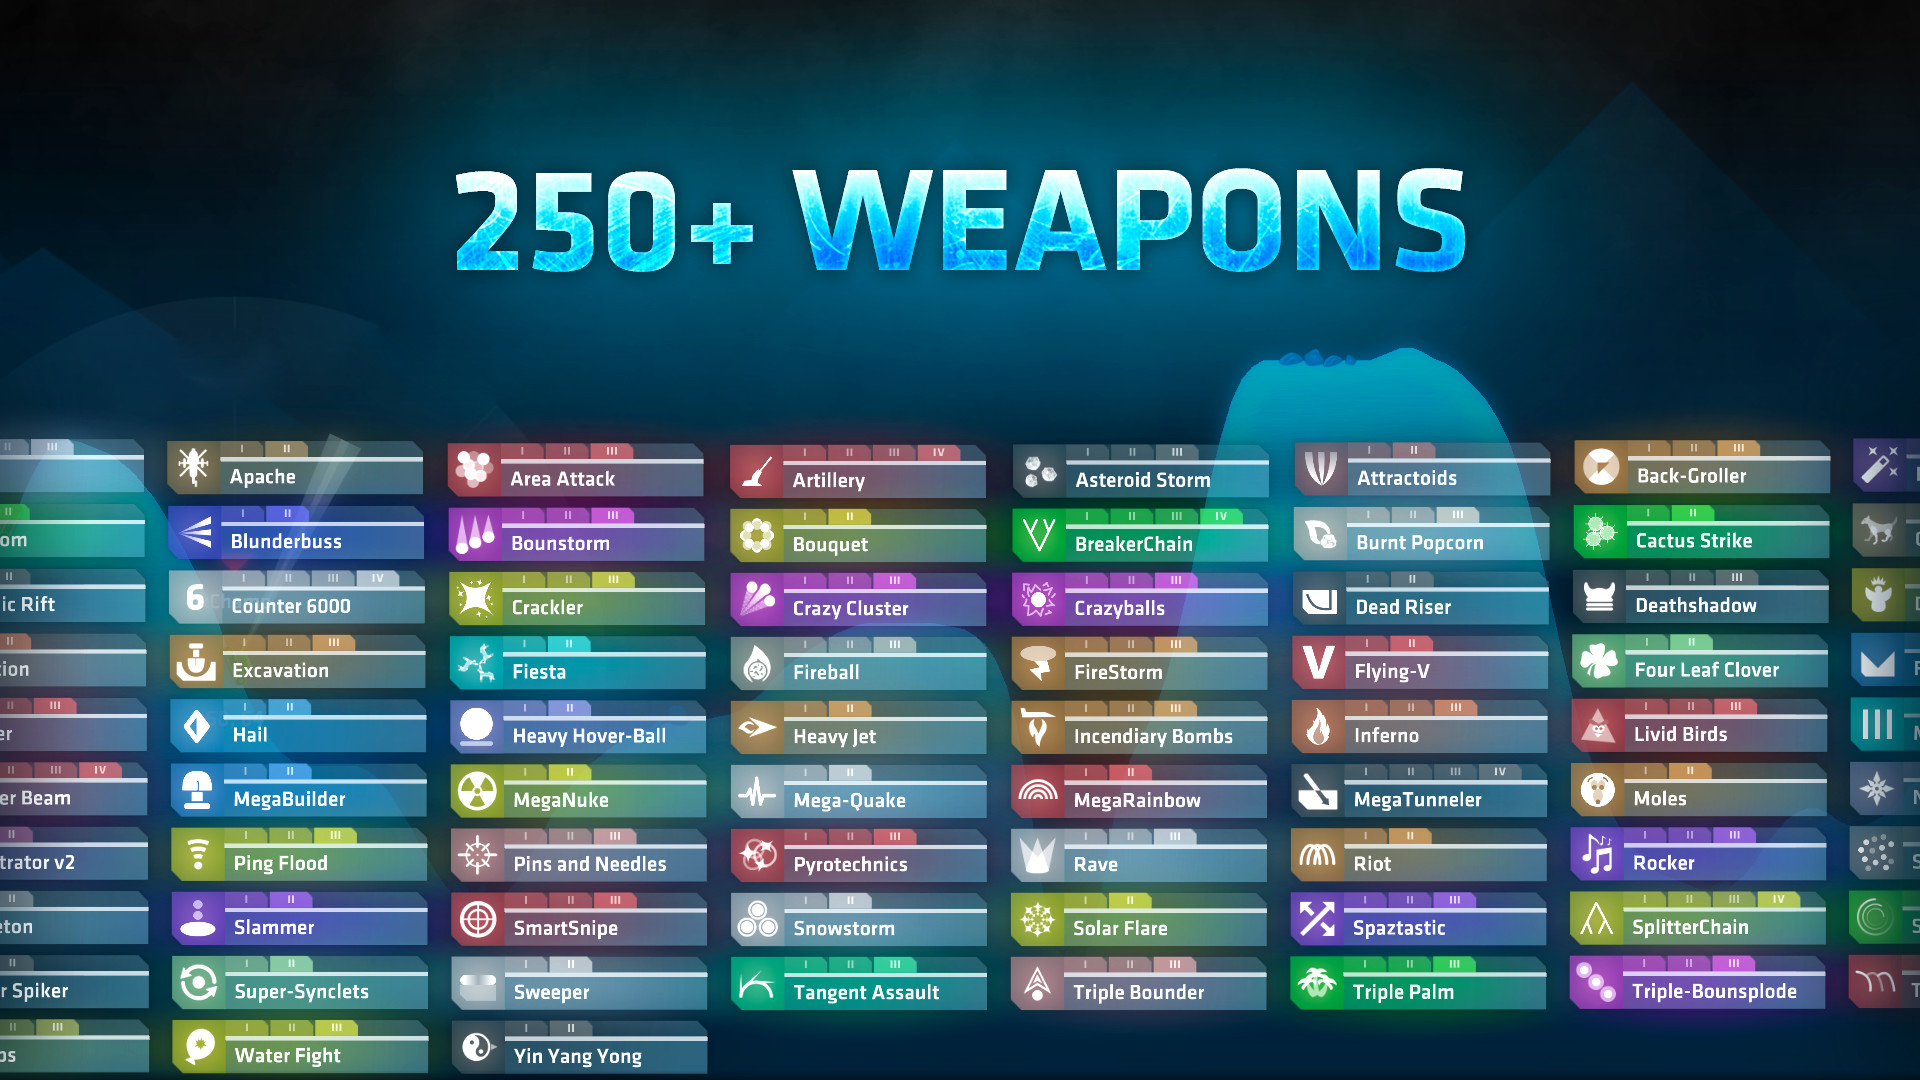
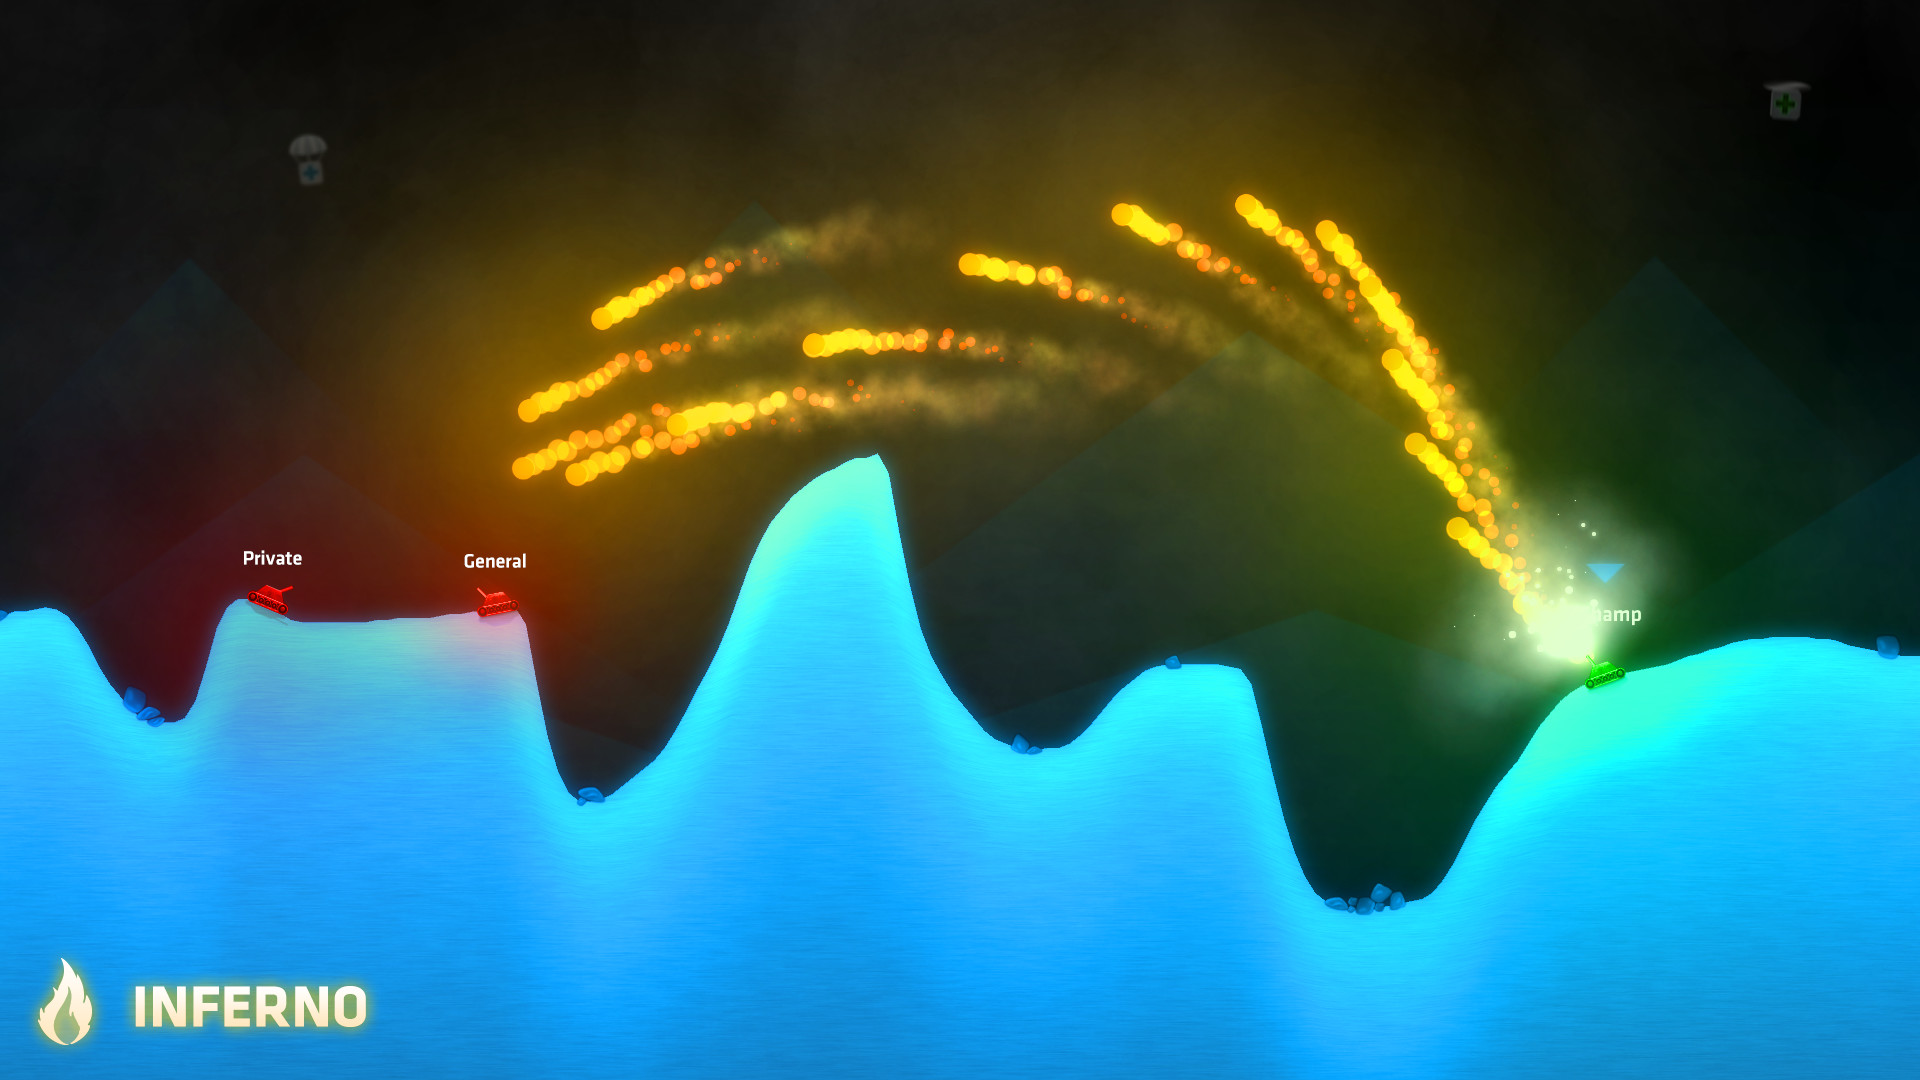
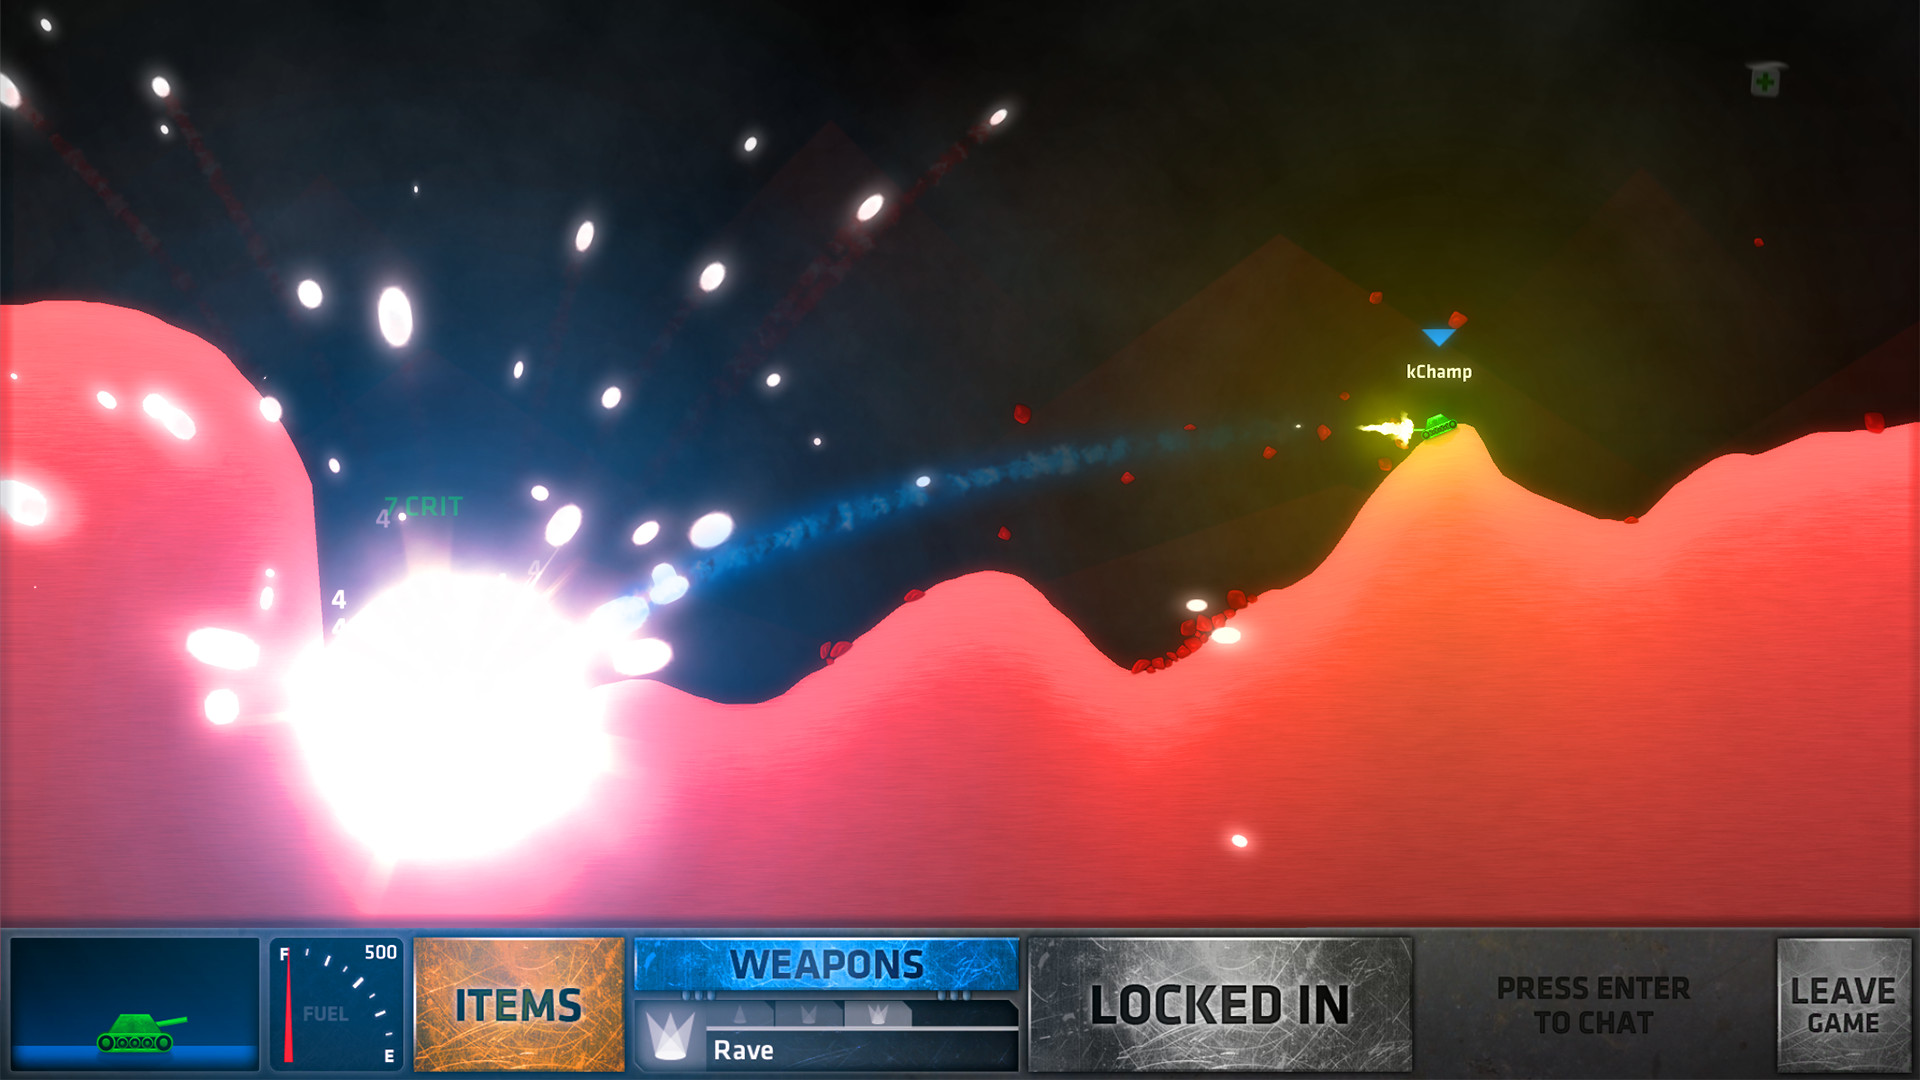
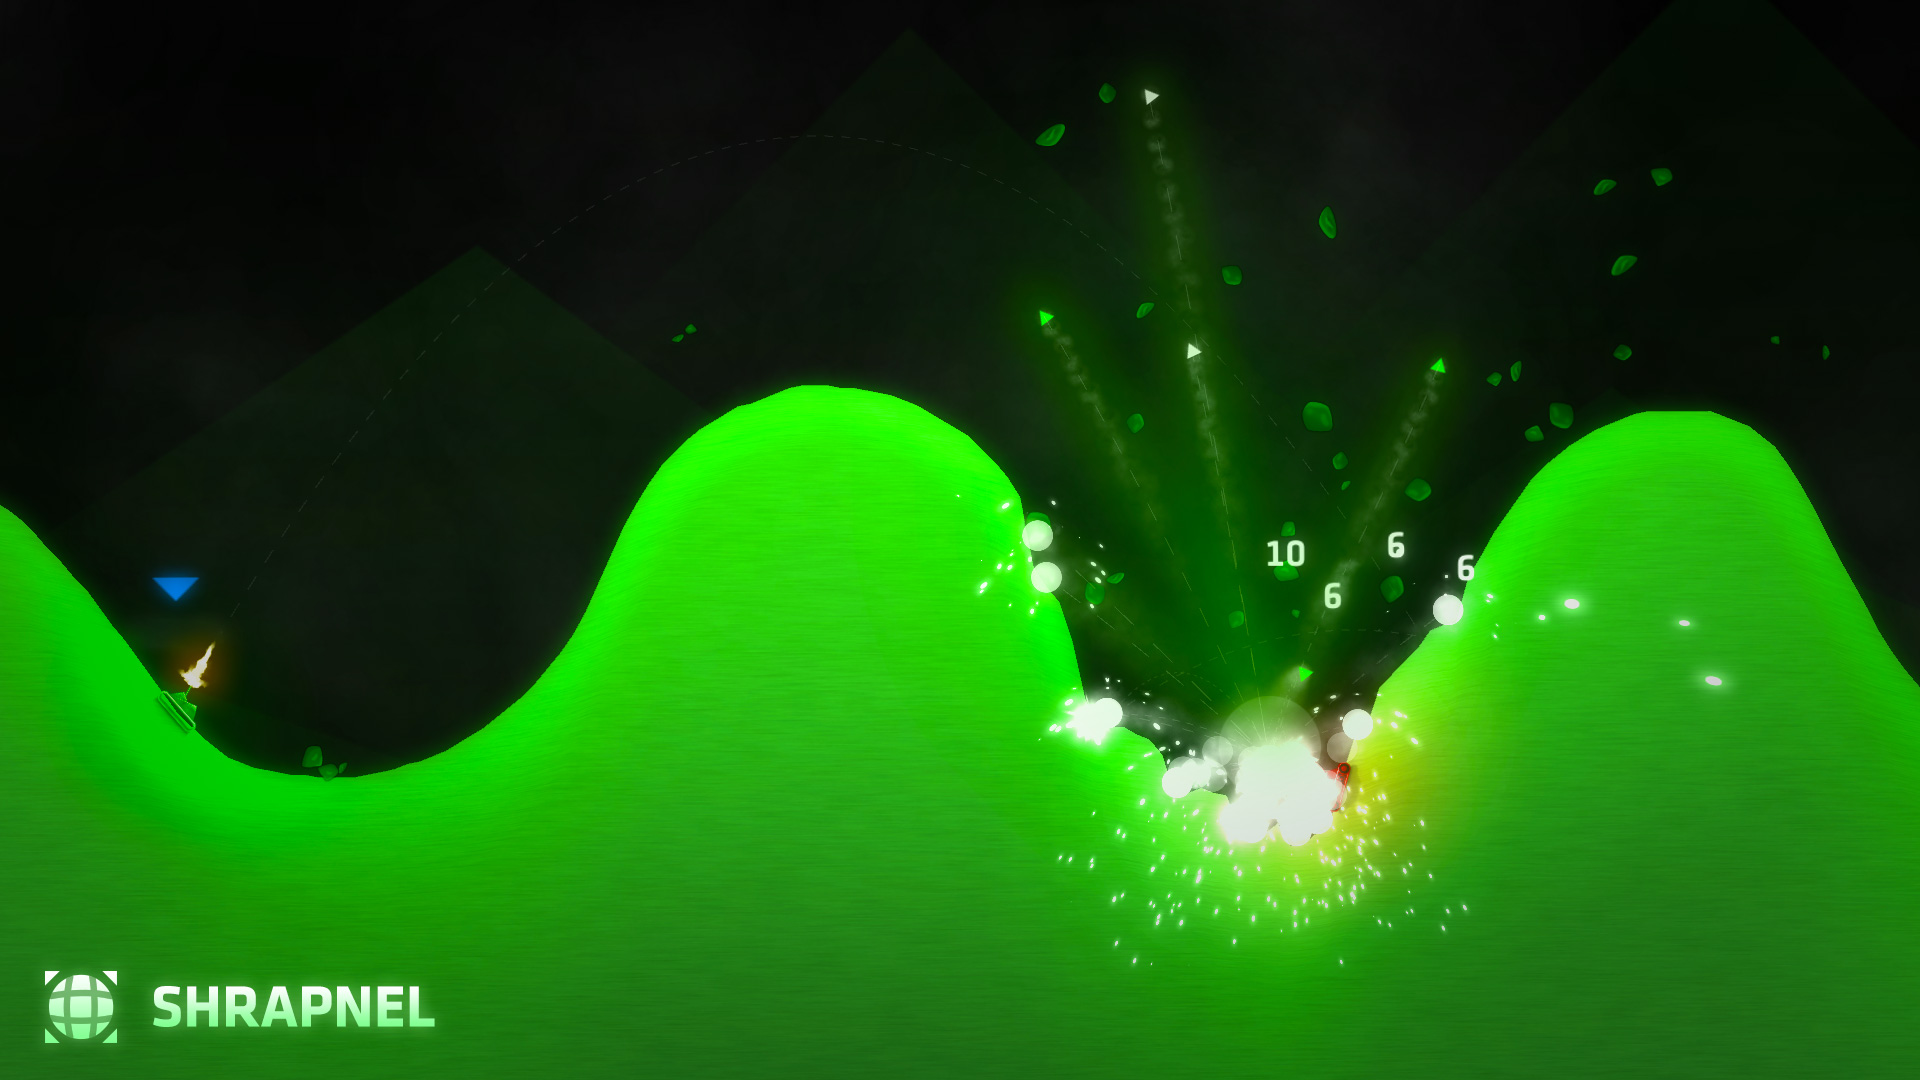
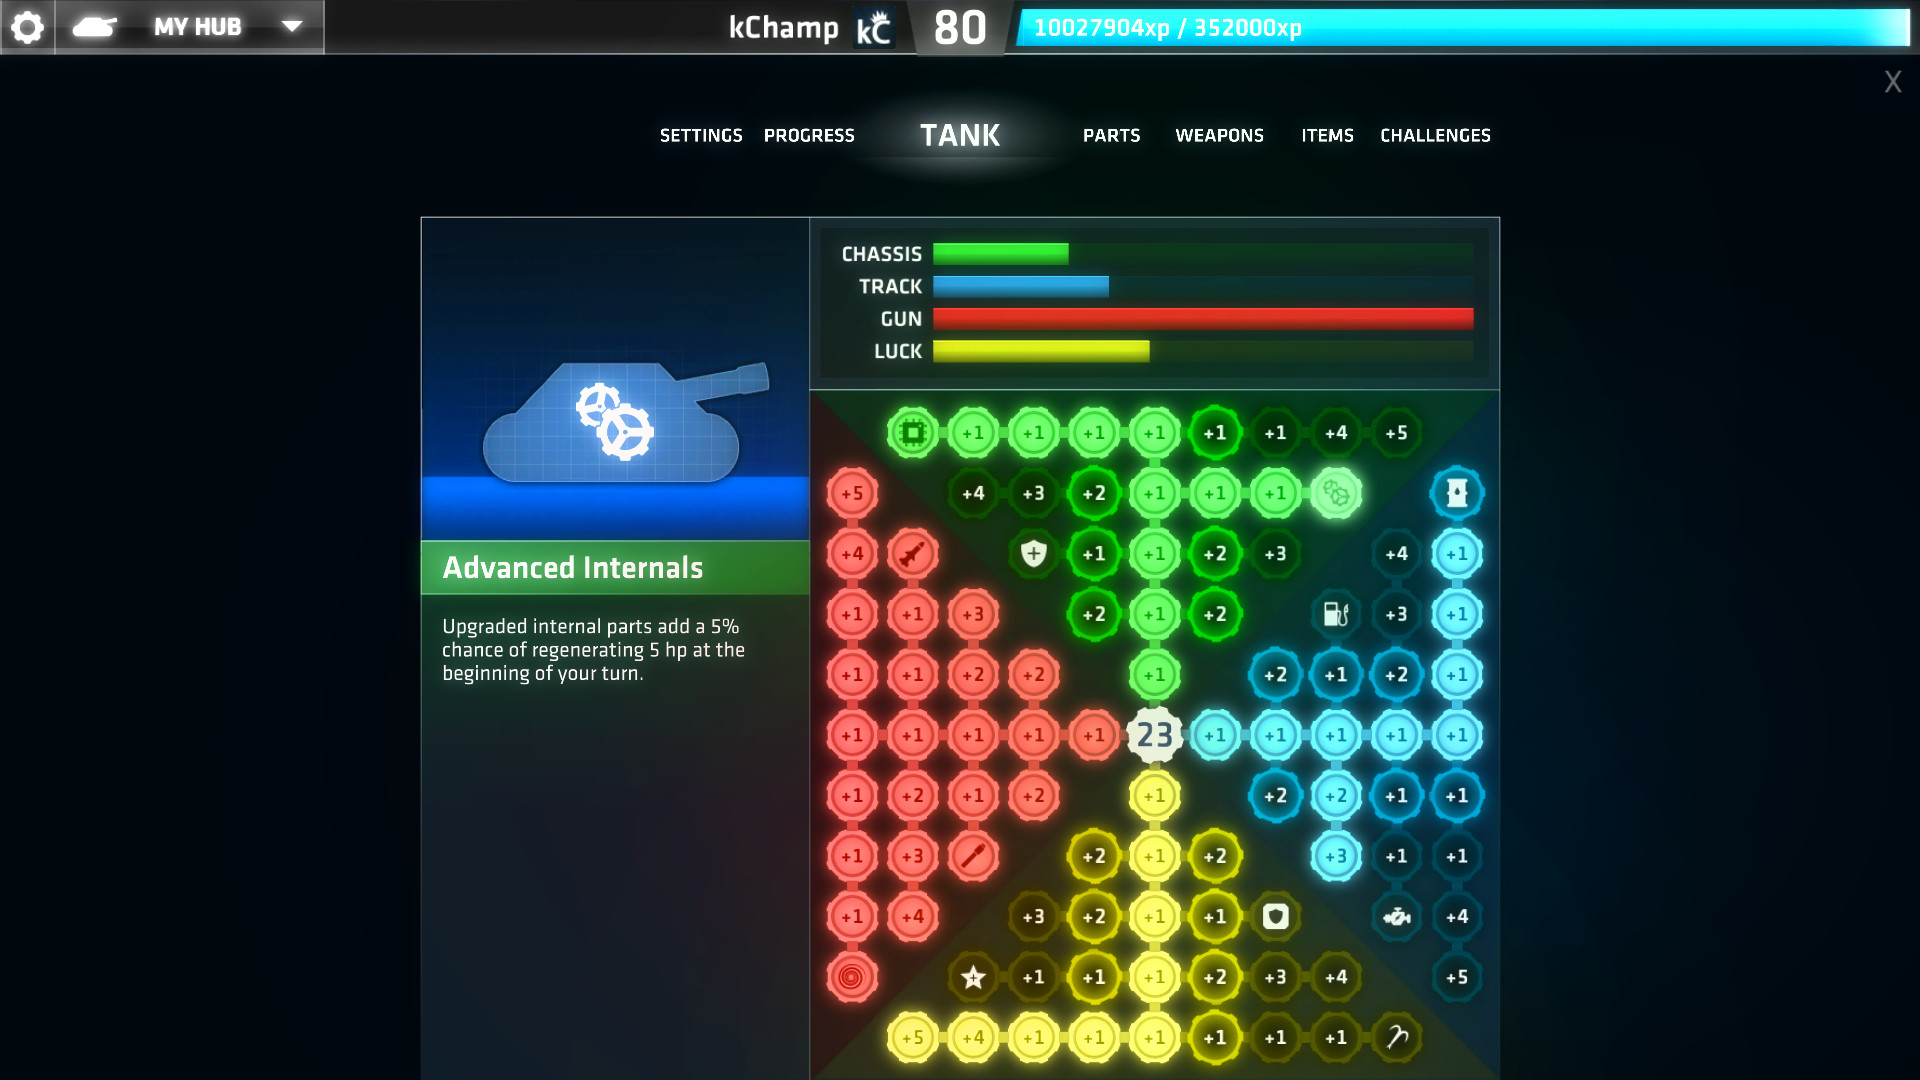
Demolish your friends with hundreds of upgradable weapons shot from your customizable tank in this action-packed online multiplayer tanks game. Earn XP to level up and unlock new tanks, weapons, and gear. Fight against or alongside your friends for strategic team or free-for-all matches.
A flawless experience on Apple Silicon; the native macOS version runs perfectly via Rosetta 2 with 60+ FPS on all M-series chips. The Mac build is Intel-only (x86_64) and runs on Apple Silicon through Rosetta 2 translation — it's a Mac app, but not a true arm64 native one. Expect a ~10–15% performance tax versus a real native port.
How ShellShock Live runs on your Mac, from our performance model and player reports.
See exactly how ShellShock Live will run on your Mac
Pick your chip and RAM for a personalised estimate.
A flawless experience on Apple Silicon; the native macOS version runs perfectly via Rosetta 2 with 60+ FPS on all M-series chips. The Mac build is Intel-only (x86_64) and runs on Apple Silicon through Rosetta 2 translation — it's a Mac app, but not a true arm64 native one. Expect a ~10–15% performance tax versus a real native port.
Boosteroid and Shadow and GeForce NOW are also available for cloud performance on a strong connection.
Official Intel Mac build, translated by Rosetta 2. Installs like any Mac app, with a small performance cost versus a native build.
One-click local install, official support.
Full Windows 11 ARM inside macOS.
Needs 25+ Mbps internet, wired ideal.
Needs 25+ Mbps internet, wired ideal.
Needs 25+ Mbps internet, wired ideal.
How each supported method stacks up on setup effort, time and runtime overhead.
Live prices compared across trusted PC key sellers — updates every few hours.
Loading per-platform notes…
Idiot-proof walkthroughs for every method.
ShellShock Live has an official Intel Mac build that runs on Apple Silicon through Rosetta 2. It installs like any Mac app, with a modest performance cost compared with a native port.
Running ShellShock Live through CrossOver translates its Windows DirectX calls into Metal on Apple Silicon — no reboot, no Windows license, no virtual machine. Most setup time is spent on first-time bottle configuration and installing the game launcher (Steam, Epic, etc.) inside CrossOver. Once that's done, launching feels close to native. Expect 15–30 minutes of setup on the first run.
Step 1 — Create a bottle
ShellShock Live) and choose Windows 10 64-bit- Graphics: D3DMetal (not DXVK)
- Synchronization: ESync
- High Resolution Mode: Off
Step 2 — Install the game launcher
Step 3 — Install and launch ShellShock Live
Step 4 — If you hit issues
Using Parallels to play ShellShock Live means running a full copy of Windows 11 ARM inside macOS. This is the most "it just works" approach for games that don't behave under CrossOver, and DirectX 11 is hardware-accelerated. You'll need a Windows license and roughly 80 GB of disk space.
Streaming ShellShock Live through Boosteroid is the fastest way to start playing on a Mac — there's nothing to install, no Windows VM, no compatibility layer. The game runs on a remote GPU and your Mac just receives the video, which means even a base M1 MacBook Air can play the most demanding AAA titles at high settings. The tradeoff is that you need a stable internet connection (ideally wired or 5GHz Wi-Fi with 25+ Mbps down) and a subscription.
Streaming ShellShock Live through Shadow is the fastest way to start playing on a Mac — there's nothing to install, no Windows VM, no compatibility layer. The game runs on a remote GPU and your Mac just receives the video, which means even a base M1 MacBook Air can play the most demanding AAA titles at high settings. The tradeoff is that you need a stable internet connection (ideally wired or 5GHz Wi-Fi with 25+ Mbps down) and a subscription.
Streaming ShellShock Live through GeForce NOW is the fastest way to start playing on a Mac — there's nothing to install, no Windows VM, no compatibility layer. The game runs on a remote GPU and your Mac just receives the video, which means even a base M1 MacBook Air can play the most demanding AAA titles at high settings. The tradeoff is that you need a stable internet connection (ideally wired or 5GHz Wi-Fi with 25+ Mbps down) and a subscription.
The best way to play ShellShock Live on your Mac is the Intel Mac build running through Rosetta 2. Official Intel Mac build, translated by Rosetta 2. Installs like any Mac app, with a small performance cost versus a native build.
| Method | Quality | Difficulty | Cost |
|---|---|---|---|
| Rosetta 2Pick | Great | Easy | Game price only |
| CrossOver | Estimate | Medium | $74 one-time / $39/year |
| Parallels | Estimate | Medium | $99/year + Windows licence |
| Boosteroid | Estimate | Easy | $9.95 / month |
| Shadow | Estimate | Medium | From $9.99 / month |
| GeForce NOW | Estimate | Easy | Free tier / $9.99+ per month |
Share what worked for you running ShellShock Live on Mac.
Loading comments…