← Back
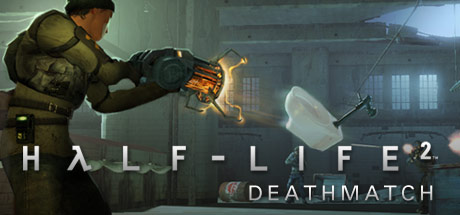
Half-Life 2: Deathmatch cover art
CrossOver

How to play Half-Life 2: Deathmatch on Mac

Action · 2004

Plays smoothly through CrossOver on Apple Silicon.

Overall rating: Runs great on Mac · 100% of 1 players say it runs well

Your setup
Detect your Mac to see whether Half-Life 2: Deathmatch will run.

Plays smoothly through CrossOver on Apple Silicon.

How to run Half-Life 2: Deathmatch on your Mac in 2026

Best path: CrossOver

CrossOver runs Half-Life 2: Deathmatch natively on Apple Silicon by translating DirectX to Metal. One-click install, no Windows VM, full local performance.

MethodQualityDifficultyCost
CrossOverPickGoodMedium$74 / $39/yrGet it ↗
ParallelsEstimateMedium$99/yrGet it ↗
GeForce NOWEstimateEasyFree / $9.99 /moGet it ↗

Half-Life 2: Deathmatch

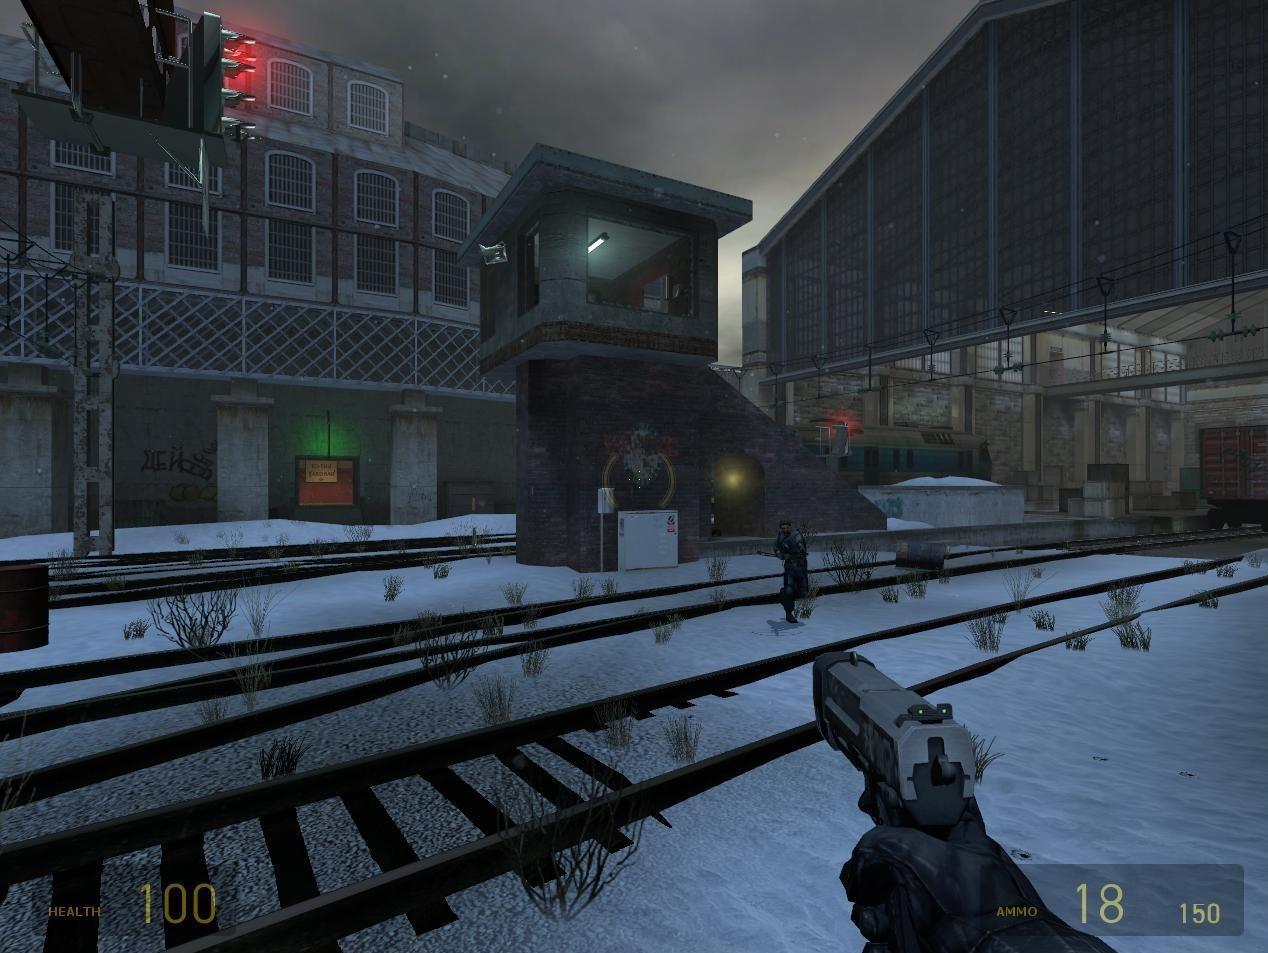
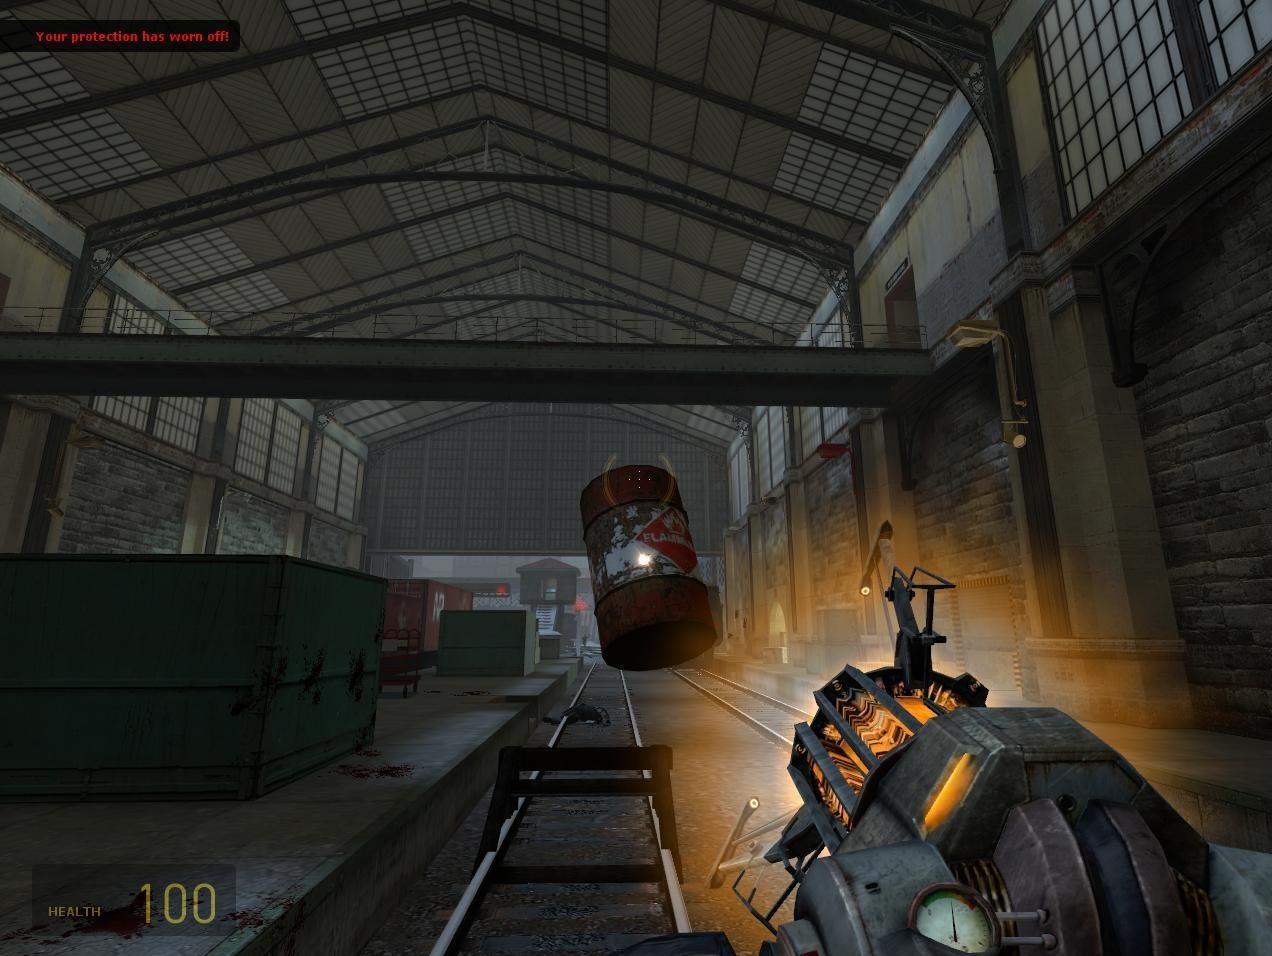
Fast multiplayer action set in the Half-Life 2 universe! HL2's physics adds a new dimension to deathmatch play. Play straight deathmatch or try Combine vs. Resistance teamplay. Toss a toilet at your friend today!

While natively supported as a 64-bit application, utilizing the -vulkan launch flag is recommended for the best experience on modern macOS versions.
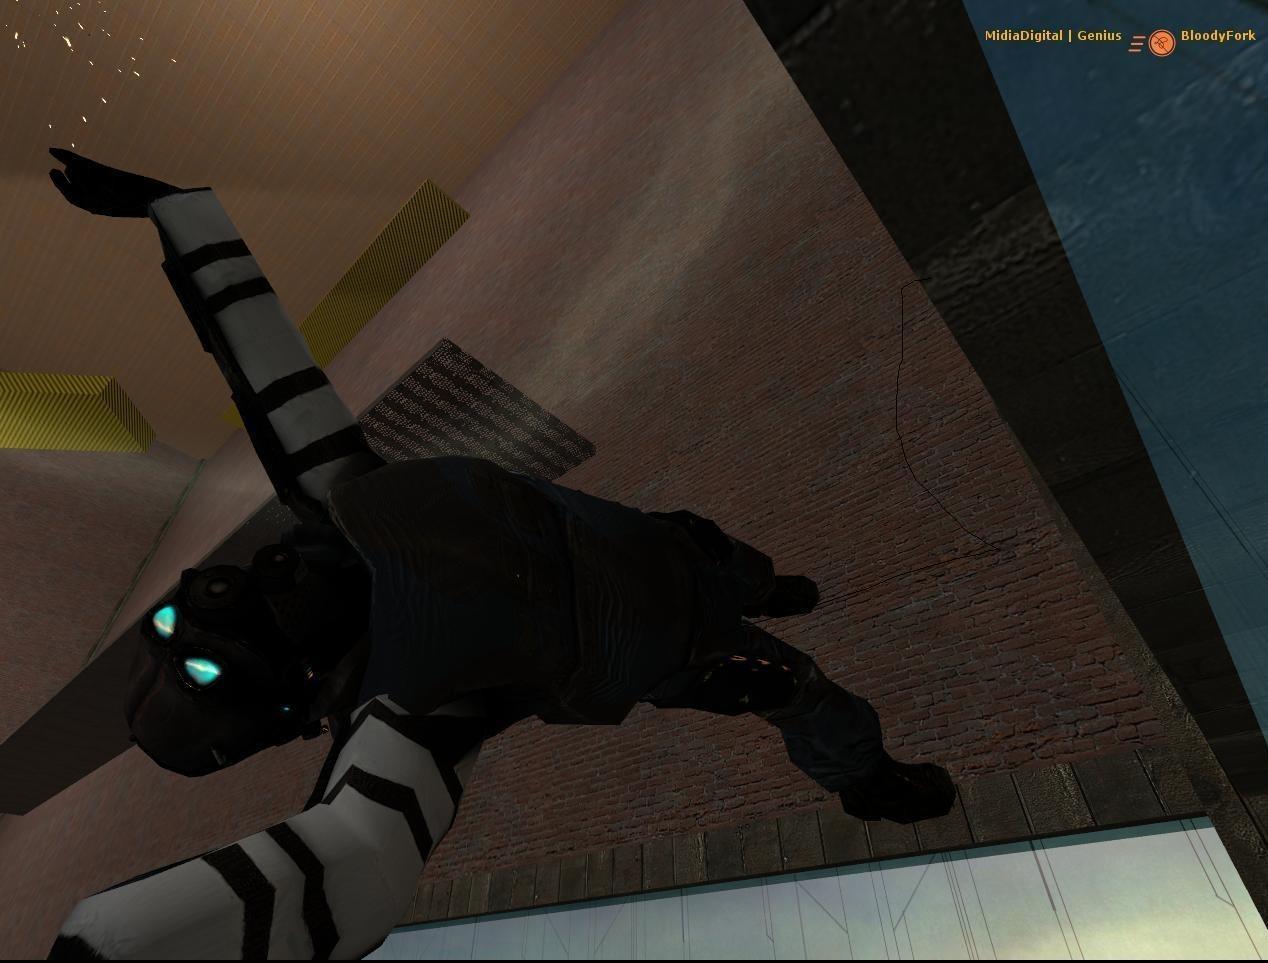
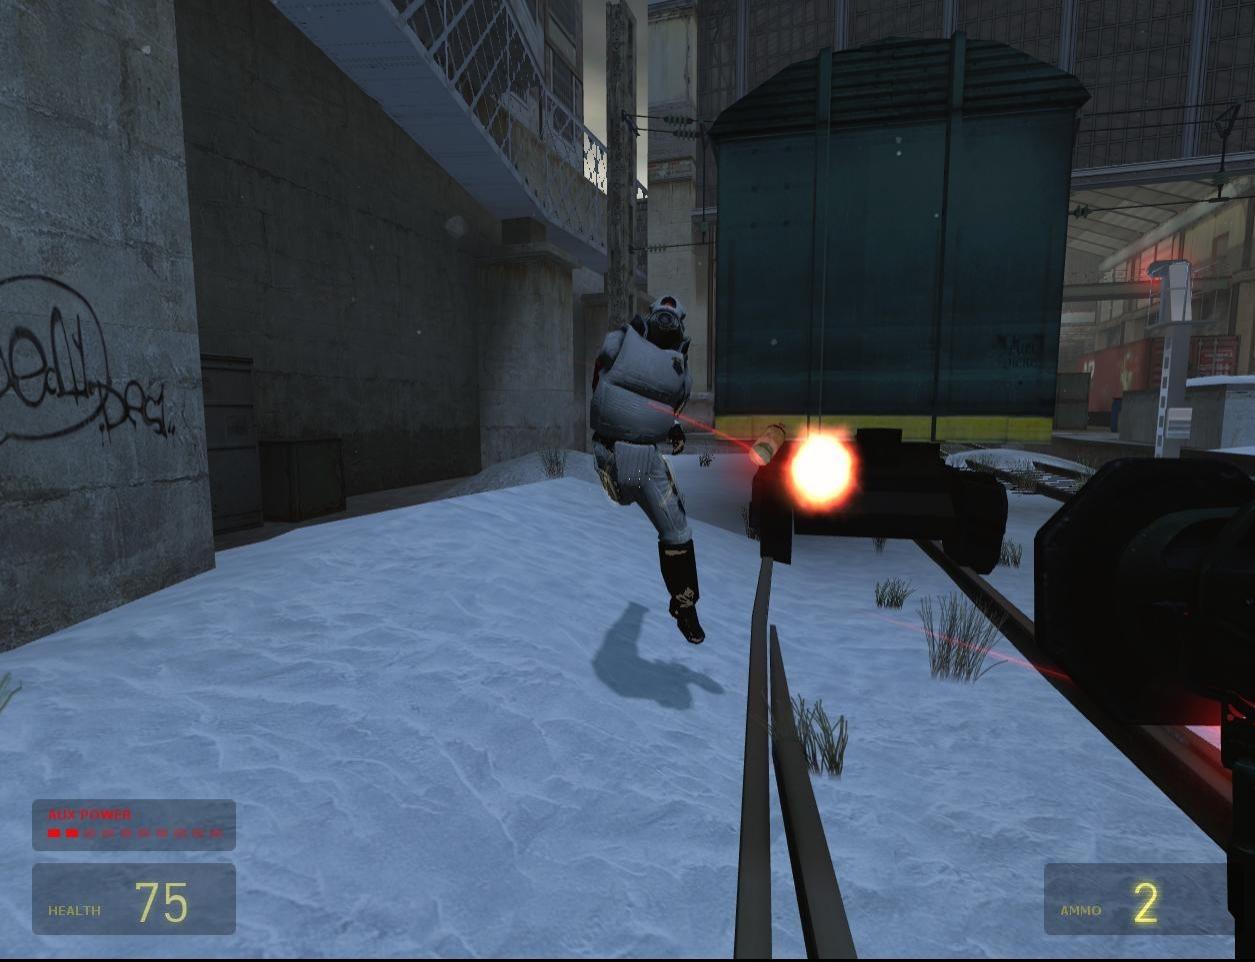
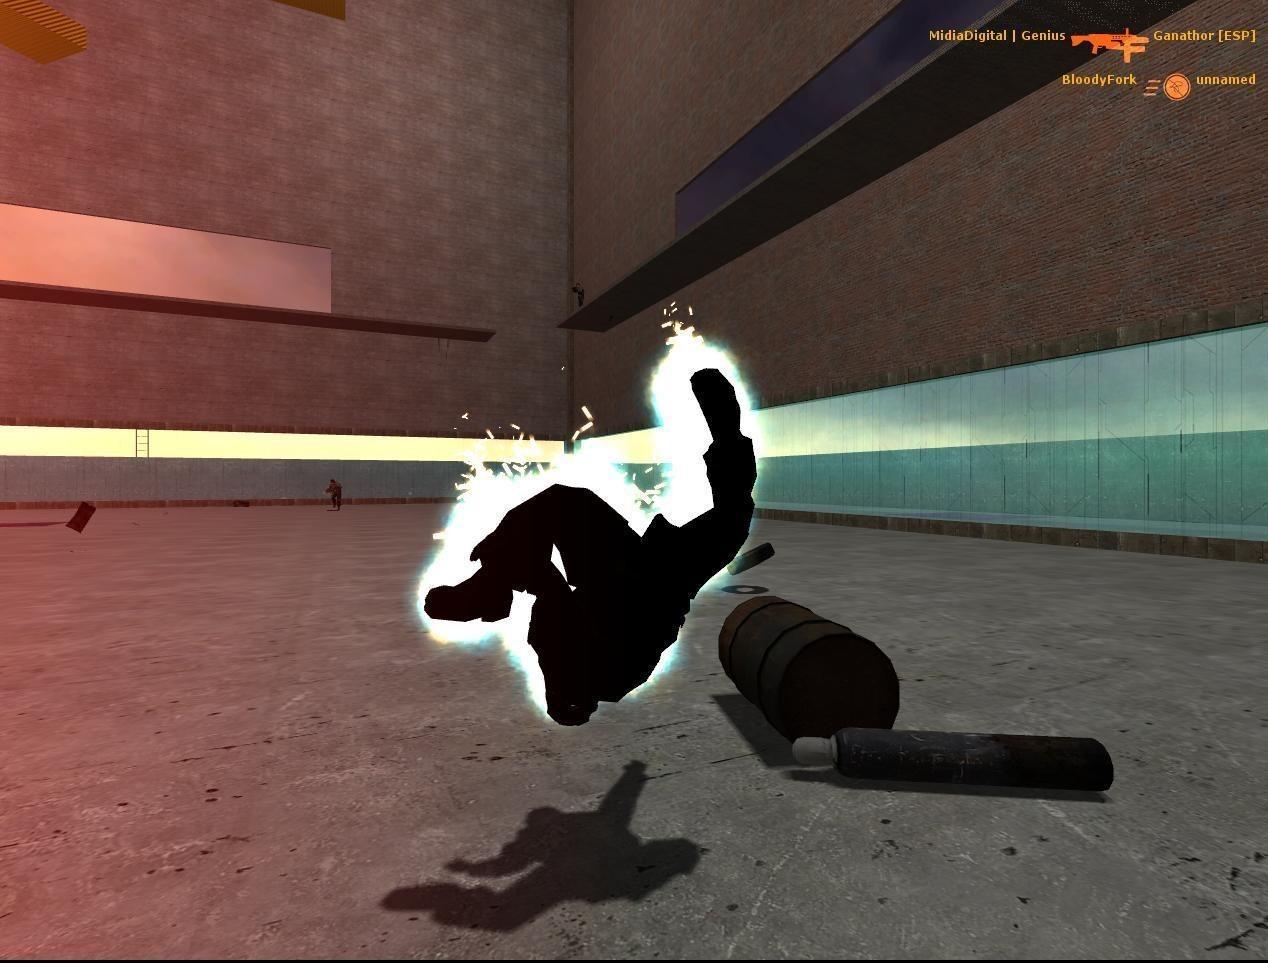
Half-Life 2: Deathmatch screenshot 1Half-Life 2: Deathmatch screenshot 2Half-Life 2: Deathmatch screenshot 3Half-Life 2: Deathmatch screenshot 4Half-Life 2: Deathmatch screenshot 5

What the world thinks

  1. Install Steam for Mac.
  2. Purchase and download Half-Life 2: Deathmatch from your library.
  3. Right-click the game > Properties > General > Launch Options.
  4. Input -vulkan to force the Vulkan renderer for improved performance on modern macOS versions.
  5. Launch the game. If you experience mouse lag, ensure 'Raw Mouse Input' is enabled in the in-game settings.

CrossOver (Crossover 23 or newer):

If the native version experiences UI scaling issues on high-DPI displays, running the Windows version via CrossOver is a viable alternative. This uses the DXVK translation layer which can sometimes be more stable than the native OpenGL/Vulkan implementation.

  1. Create a new 'Steam' Bottle.
  2. Install Steam into the bottle.
  3. Download HL2:DM within that bottle.
  4. Enable 'D3D Metal' or 'Esync' in the side menu for optimal frame rates.

Performance

How Half-Life 2: Deathmatch runs on your Mac, from our performance model and player reports.

See exactly how Half-Life 2: Deathmatch will run on your Mac

Pick your chip and RAM for a personalised estimate.

Best way to play it on Mac

While natively supported as a 64-bit application, utilizing the -vulkan launch flag is recommended for the best experience on modern macOS versions.
See if this is the right method for your setup

Ways to play Half-Life 2: Deathmatch on Mac

Here are all the options available, ranked by what we recommend first.

Compare methods at a glance

Lower = better

How each supported method stacks up on setup effort, time and runtime overhead.

  • CrossOverTranslationTop pick
    Setup
    Moderate
    Time
    15 min
    Overhead
    Medium
  • GeForce NOWCloud
    Setup
    Simple
    Time
    5 min
    Overhead
    Low
  • ParallelsVM
    Setup
    Moderate
    Time
    30 min
    Overhead
    High

Where to buy Half-Life 2: Deathmatch

Live prices compared across trusted PC key sellers — updates every few hours.

Platform-by-platform reliability

Loading per-platform notes…

Step-by-step setup guides

Idiot-proof walkthroughs for every method.

How to run Half-Life 2: Deathmatch on Mac with CrossOver

Good· Compatibility

Running Half-Life 2: Deathmatch through CrossOver translates its Windows DirectX calls into Metal on Apple Silicon — no reboot, no Windows license, no virtual machine. Most setup time is spent on first-time bottle configuration and installing the game launcher (Steam, Epic, etc.) inside CrossOver. Once that's done, launching feels close to native. Expect 15–30 minutes of setup on the first run.

Step-by-step

Step 1 — Create a bottle

  1. Open CrossOver → click New Bottle
  2. Name it after the game (e.g. Half-Life 2: Deathmatch) and choose Windows 10 64-bit
  3. Open the bottle's Settings and set:

- Graphics: D3DMetal (not DXVK)

- Synchronization: ESync

- High Resolution Mode: Off

Step 2 — Install the game launcher

  1. Inside CrossOver, click Install Application → search for Steam (or Epic Games Launcher if you own it there)
  2. Install it into the same bottle you just created
  3. Launch Steam, log in, and let it fully update before proceeding

Step 3 — Install and launch Half-Life 2: Deathmatch

  1. Open Steam (or your launcher) inside CrossOver
  2. Install Half-Life 2: Deathmatch through the launcher as normal
  3. Launch the game — use the launcher's Play button, not CrossOver directly
  4. First launch may take 30–90 seconds to show a window. Don't force-quit unless it hangs for several minutes.

Step 4 — If you hit issues

  • Black screen / stuck in small window: go to Settings → Graphics in-game, set Screen Type to Fullscreen, then restart
  • Resolution resets on every launch: find the game's config/settings file and set the resolution values manually, then mark the file Read-Only to prevent the game overwriting it
  • Crashes on startup: try switching the bottle's Synchronization from ESync to MSync, or vice versa

Video proof

Try CrossOver free for 14 daysAffiliate link — supports the site at no extra cost.

How to run Half-Life 2: Deathmatch on Mac with Parallels

Estimate· Compatibility

Using Parallels to play Half-Life 2: Deathmatch means running a full copy of Windows 11 ARM inside macOS. This is the most "it just works" approach for games that don't behave under CrossOver, and DirectX 11 is hardware-accelerated. You'll need a Windows license and roughly 80 GB of disk space.

Step-by-step

  1. Buy / start a trial of Parallels Desktop.
  2. Install Windows 11 ARM via the one-click wizard.
  3. Inside Windows, install Steam / Xbox app and Half-Life 2: Deathmatch.
  4. Enable DirectX 11 in Parallels settings for best 3D performance.

Video proof

Try Parallels Desktop freeAffiliate link — supports the site at no extra cost.

How to run Half-Life 2: Deathmatch on Mac with GeForce NOW

Estimate· Streaming

Streaming Half-Life 2: Deathmatch through GeForce NOW is the fastest way to start playing on a Mac — there's nothing to install, no Windows VM, no compatibility layer. The game runs on a remote GPU and your Mac just receives the video, which means even a base M1 MacBook Air can play the most demanding AAA titles at high settings. The tradeoff is that you need a stable internet connection (ideally wired or 5GHz Wi-Fi with 25+ Mbps down) and a subscription.

Step-by-step

  1. Sign up at GeForce NOW. The free tier works; Ultimate gives 4K/120fps.
  2. Download the GeForce NOW Mac app (Apple Silicon native).
  3. Link your Steam / Epic / Xbox account that owns Half-Life 2: Deathmatch.
  4. Search the title in the app and click Play.

Video proof

Start playing on GeForce NOWAffiliate link — supports the site at no extra cost.

Our recommendation

For most Mac players we recommend CrossOver as the fastest, smoothest way to play Half-Life 2: Deathmatch. One-click local install, official support.

MethodQualityDifficultyCost
CrossOverPickGoodMedium$74 one-time / $39/year
ParallelsEstimateMedium$99/year + Windows licence
GeForce NOWEstimateEasyFree tier / $9.99+ per month
Try CrossOver free for 14 days

Comments

Share what worked for you running Half-Life 2: Deathmatch on Mac.

Be kind. No spam.

Loading comments…

Frequently asked questions